Want to make sure your tracks sound good but all you have are small PC speakers? You want to be able to mix on dedicated audio monitors, then this guide is for you.
What is a studio audio monitor?
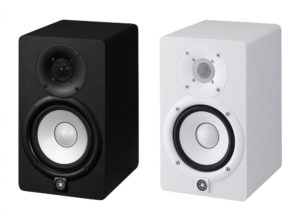
An audio monitor is a speaker specially designed to reproduce the sound coming out of your DAW as faithfully as possible. They are often sold individually (although there are models sold in pairs) and are active. That is to say that they require a power supply: often directly from 220v. They often have two membranes: a large one and a smaller one above. The idea is to have the maximum quality on the whole available frequency range. So, the small diaphragm will play the midrange and high frequencies and the large diaphragm will play the lower midrange and bass frequencies.
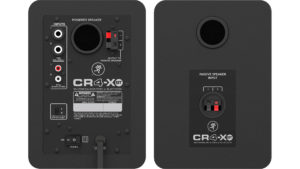
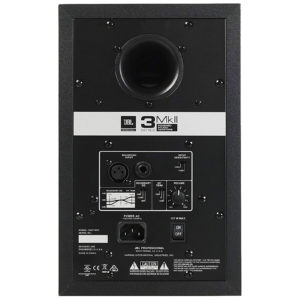
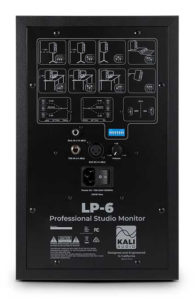
But that’s not all, audio monitors also offer a whole range of professional connections such as XLR and/or unbalanced 6.35mm jacks as inputs, a volume control and often equalization settings. This multitude of settings and connections will allow you to differentiate an audio monitor from a speaker more intended for hi-fi.
Monitors are also often declined in different sizes of speaker diaphragm given in inches. What you have to understand is that the bigger a monitor is, the wider its frequency range will be, especially in the bass range, and the more powerful it will be too. Power is a really important criterion, if your studio is very large. But in a bedroom, you will never push these monitors to the limit, nor will you use them to soundtrack a party with friends. They’re not meant to be played at full volume for hours and hours. After that, if you want to play sound for a party at a volume that allows you to talk to each other without shouting, this will do the trick. But if you want to make a party with music, you might as well look at the Hi-Fi speakers specially made for that and which are often much cheaper than audio monitors.
In any case, as you have to mix with a volume equivalent to a voice conversation, you will very rarely push your monitors to the limit.
However, there are speakers called “Hi-Fi speakers” that are more directed towards listening and their sound is not neutral. This means that they can’t be used for mixing because they attenuate or boost certain frequencies. In this guide, I have only selected monitors that are neutral enough for mixing/mastering. You can always choose more hi-fi oriented speakers for your music, just to give you a better idea of what it sounds like in pure listening.
Monitors can also be accompanied by a subwoofer. This is a rather large audio monitor that will be placed under your desk to bring more bass and sub-bass to your system. The sub-bass is a very low frequency that is inaudible to our ears but that makes our body vibrate. It’s a great monitor to feel the bass part of your mix, but it’s not essential since most of the people who will listen to your music will do so with systems that can’t reproduce these very low frequencies. You will need it when your songs are played live or at festivals. At that point, you’ll probably be able to afford a subwoofer or hire a studio equipped to handle that part. I’ll put you in spite of all the subwoofers associated to the different models of my selection, if there are any.
Why mix on audio monitors?
The interest of audio monitors is fourfold: they allow you to have an idea of what your track will sound like on loudspeakers; you have a more precise vision of the stereo of your track because your two ears hear what the two loudspeakers are sending; you have a much wider sound space than with headphones or earphones; you will feel more the vibrations of the instruments of your track in your body and finally, you can make everyone listen to your mix to decide in real time on future improvements on your track.
Listening, at some point, to what your mix sounds like on speakers is a must in music composition. You can’t rely on what you hear in your headphones to get an accurate idea of how your creation will sound on quality speakers.
Audio monitors are an indispensable part of your home studio. But in order for them to do their job well, they need to be placed properly.
How should they be placed then?
To properly place audio monitors, they must form an equilateral triangle with your head. In other words, with all sides equal. It’s pretty simple, right?
So, decide on a location for your monitors. In general, they will be at the same level as your screen(s). Don’t place them any further back than that, because you’ll lose frequencies that are blocked by the screens. Basically, you need to see the entire diaphragm of your monitors when you are at your computer ready to work.
There are two ways to position your monitors, relatively, to your head:
Method 1 : Place your monitors on either side of your screen(s) and then calculate the distance your head should be to form an equilateral triangle with your monitors. It’s easy. Draw a line with a string from the front of one monitor to the front of the other. Use the center of the larger diaphragm as a reference point. Measure the length of the string you have obtained. This will be the distance between your monitors and do: distance between monitors x 0.86603. This will give you the distance you need to be from the line that connects the two membrane centers you measured. You must, of course, be in the middle of your two audio monitors.
Method 2 : Draw a line with a string on which you will place your audio monitors. Stand in front of your workstation and measure the perpendicular distance between your head and this line. This will give you the height of the triangle we want to obtain. Also, take a reference point to have the middle between the monitors. Then calculate: height triangle / 0.86603. This will give you the distance you need between the two monitors. Finally, divide this distance by two and place your monitors on either side of your reference point, respecting half the distance you calculated.
For the height, the tweeters (the small speakers at the top) should be placed at ear level and of course, the monitors should be directed towards your head.
The subwoofer is placed under the desk between the two monitors.
How to mix with monitors?
To mix with monitors, you first need a treated room, as anechoic as possible. That is to say where there is no or little echo. There are tutorials on the internet on how to treat a room to reduce its natural echo by using absorbing foams. Note that a very cluttered room with furniture, wallpaper or posters on all the walls will have much less echo than an almost empty room.
Next, you should mix at a volume equivalent to a conversation, depending on the size of your studio. If you mix at too low a volume, you risk increasing the volume of your instruments too much and ending up with a mix that is saturated or lacks hierarchy. If you mix at too high a volume, you risk having a bad vision of the volume of each instrument because you will hear them all too loud. But a good mix is also a certain balance and hierarchy of sound level between the different instruments of your track.
There is nevertheless an interest in mixing at a low volume at certain times, because you will hear the instruments that are most prominent in your mix. So, if at low volume, you can hardly hear the sung voice even though it is the main part of your song, it is too weak in your song. Similarly, if an instrument that should be in the background is clearly too present at low volume.
A good practice is to choose a level on which to mix and a level on which to have other people listen to your track. To do this, memorize the volume position of your output so that you can return to this reference volume as soon as you need it to mix.
Which membrane size to choose?
It’s pretty straightforward in the end, because, as I wrote above, the diaphragm size will determine the bass frequency range, the power, but most importantly the footprint. Yes, you will need enough room on your desk to place the monitors on either side of your screen(s). So, if you are a beginner or have a small studio, like a small room, with a small desk, get a 4, 5 or 6 inch. 5 inches is a good compromise between space and power. If you have a big desk and enough room to form the famous equilateral triangle, then go for a 7 or 8 inch which will give you a bit more bass.
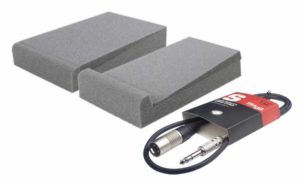
Lastly, it is preferable to isolate audio monitors from the surface on which they are placed. The idea is to prevent the vibrations from the monitor from being transmitted to the desk or stand and creating unwanted noise that could distort your mix. There are special stands and foam pads to put your monitors on. You will also need XLR cables to connect your monitors to your sound card. If you have a USB sound card, you will probably have TRS jack outputs. So you will need either two TRS jack cables or two TRS jack to XL cables.
I give you links to buy all this at the end of the listing below.
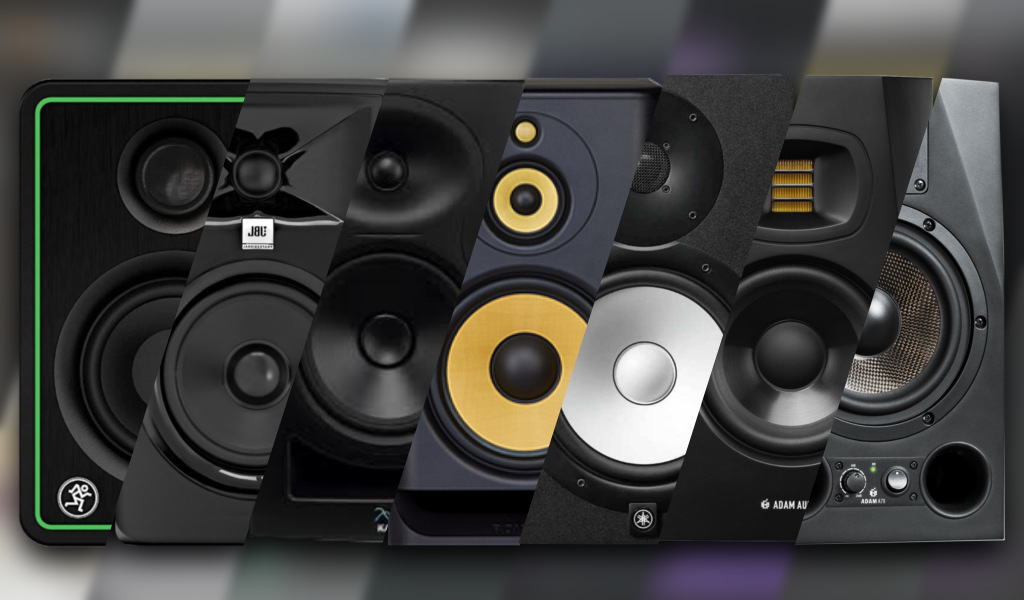
Now that you know what you need to know about audio monitors, here is my selection:
(The prices listed are the prices I found at the time of writing this article in mai 2021.
They may have changed on the vendors site by the time you read this).
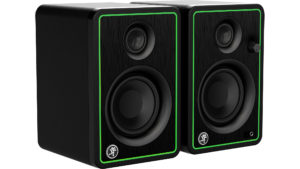
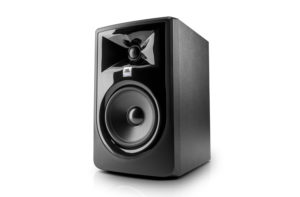
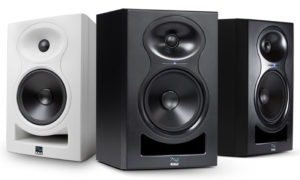
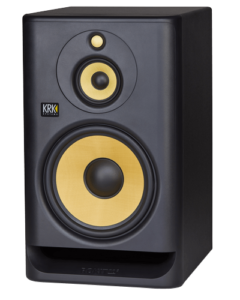
I can help you out a bit with your choice with the list of “If” :
– If you don’t have a lot of money then, I’d suggest going with the Mackie CR-X which does a good job for the price.
– If you’re in the €300 range for the pair, I’d recommend the JBL LSR 305P or the Kali Audio LP-6.
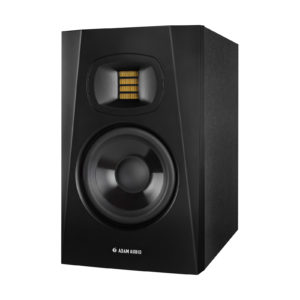
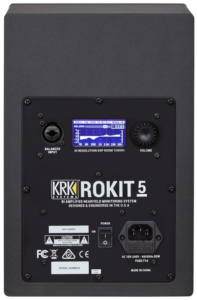
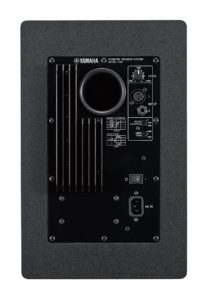
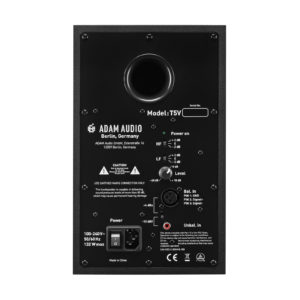
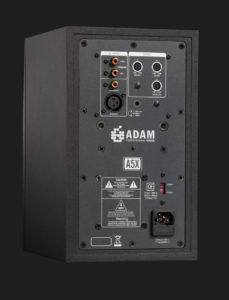
– If you want to have the most pro rendering possible then, you have the choice between the Rokit, Yamaha HS and Adam T or A.
– If you want the best value for your money then the Rokit or Kali Audio are for you.
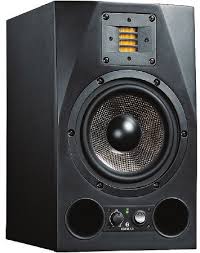
– If you can afford it, go for the Adam A’s without question.
– If, for you, music production is just a hobby then, I would recommend the JBL LSR or Kali Audio which are good, yet have a contained price.
That’s it, you’ve reached the end of my selection. There are still a lot of models out there, but you should expect to pay at least €300 for a good pair of audio monitors, because below that you will have to make concessions on the quality of the sound reproduction.
I hope this guide will be useful in your choice. Leave me a message in the comments if you know of any other studio headphones, if you have any comments to make or if you have any questions or topics you’d like me to talk about.




Be the first to comment